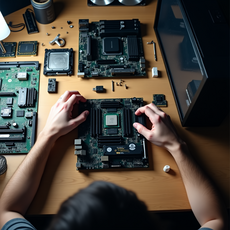
Build a computer from scratch and unleash your creativity with customized hardware tailored to your requirements.
More...
Building your computer can be an exciting and rewarding experience. Whether you're a tech enthusiast or a first-time builder, understanding the process and time investment is crucial.
This post will walk you through assembling a PC, providing insights into the time required for each stage and addressing common questions.
When you build a computer, you gain valuable skills and create a customized machine tailored to your needs.
Total Time Investment to Build a Computer
Building a computer from scratch typically takes 3 to 8 hours for the physical assembly, depending on your experience level and the complexity of your build.
However, when you factor in research, purchasing, and software setup, the entire process can span several days to a few weeks.
Deciding to build a computer involves more than just assembly; it's a journey of learning and customization.
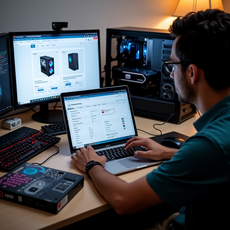
Planning and Research: The First Step to Build a Computer
(1-2 weeks)
Before you start assembling your computer, it's essential to spend time planning and researching.
Depending on your familiarity with computer components, this phase typically takes 1-2 weeks.
To begin with, define your needs by determining your computer's primary use (gaming, work, general use).
Next, research components, learning about CPUs, GPUs, Motherboards, RAM, Storage, and Power Supplies.
Then, check compatibility to ensure all your chosen parts work together. Finally, set a budget and allocate funds for each component.
Pro tip: Use PCPartPicker to check component compatibility and compare prices.

Purchasing Components (1-3 days)
Once you've decided on your components, it's time to purchase.
Typically, acquiring parts takes 1-3 days, contingent on stock levels and delivery speed.
Begin by scouring various vendors to uncover the most competitive prices and enticing offers.
Additionally, consider bundle offers, as some stores discount component packages.
Moreover, factor in shipping time; expedited shipping might be worth it if you're eager to start building.
Remember, don't compromise on quality to save a few dollars, especially for critical components like the power supply.
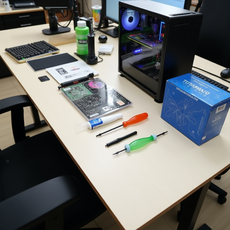
Preparing Your Workspace
(30 minutes -1 hour)
Before you start building, set up a clean, static-free workspace. This step typically takes 30 minutes to an hour.
First, choose a large, flat surface; a dining table or desk works well.
Next, gather tools such as screwdrivers, thermal paste, and zip ties. Then, use an anti-static mat or wristband to create a static-free zone.
Lastly, ensure your workspace is well-lit and free from potential hazards.
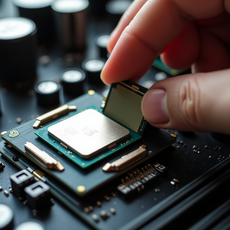
Installing the CPU (15-30 minutes)
Installing the CPU is a delicate process that usually takes 15-30 minutes.
Begin by locating the CPU socket on the Motherboard. Then, align the CPU correctly, looking for the golden triangle. Gently lower the CPU into place without forcing it.
Finally, secure the CPU with the retention arm or mechanism.
Caution: Handle the CPU by its edges to avoid damaging the pins or contacts.
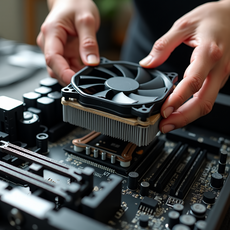
Mounting the CPU Cooler
(20-40 minutes)
Properly cooling your CPU is crucial. This step typically takes 20-40 minutes. If the thermal paste is not pre-applied on the cooler, apply it.
Next, align the cooler with the Motherboard's mounting holes. Then, secure the cooler according to the manufacturer's instructions.
Lastly, connect the cooler's power cable to the appropriate motherboard header.
Note: Some high-end coolers may require more time to install due to their complexity.
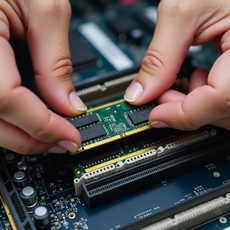
Installing RAM (5-10 minutes)
Installing RAM is one of the quicker steps, usually taking only 5-10 minutes.
First, identify the correct RAM slots on your Motherboard (consult the manual). Then, align the RAM sticks with the slots, ensuring the notches match.
Finally, press down firmly until you hear a click.
Tip: Install RAM in matched pairs for optimal performance.
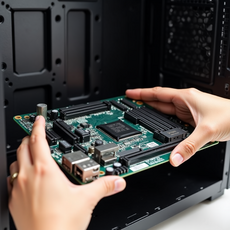
Mounting the Motherboard
(20-30 minutes)
Mounting the Motherboard in the case typically takes 20-30 minutes.
If standoffs are not pre-installed in the case, begin by installing them.Next, align the I/O shield with the case's rear opening. Then, carefully lower the Motherboard onto the standoffs.
Finally, secure the Motherboard with screws. Be gentle to avoid overtightening screws and potentially damaging the Motherboard.
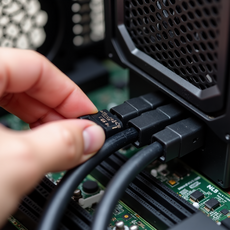
Installing the Power Supply
(15-25 minutes)
Installing the power supply takes about 15-25 minutes.
Start by positioning the PSU in the designated area of the case. Then, secure the PSU with the provided screws. Next, connect the main power cables to the Motherboard.
Lastly, organize cables for better airflow and aesthetics. Cable management tip: Use zip ties or velcro straps to keep cables tidy.
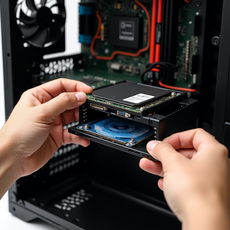
Installing Storage Drives
(10-20 Minutes per Drive)
Installing storage drives takes about 10-20 minutes per drive.
Begin by mounting 2.5" SSDs or 3.5" HDDs in the appropriate drive bays. Next, secure drives with screws or tool-less mechanisms. Then, connect SATA data cables to the drives and Motherboard.
Finally, power cables from the PSU are attached to each drive.
Consideration: M.2 SSDs are installed directly onto the Motherboard and may require temporary removal of other components.
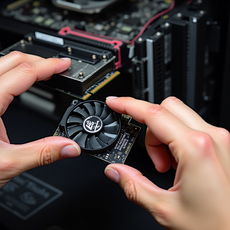
Installing the Graphics Card
(10-15 minutes)
If you're using a dedicated GPU, installation typically takes 10-15 minutes.
Start by removing the PCIe slot covers from the case. Then, align the GPU with the Motherboard's PCIe x16 slot.
Next, gently insert the card until it clicks into place. After that, secure the GPU to the case with screws.
Finally, connect power cables if required by your GPU model. Remember: Some high-end GPUs may need additional support to prevent sagging.
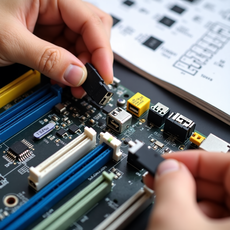
Connecting Front Panel and Peripheral Cables (15-30 Minutes)
Connecting various cables can be fiddly and usually takes 15-30 minutes.
Identify front panel connectors (power, reset, LED, USB, audio). Then, connect each cable to the corresponding motherboard header.
Next, attach case fan cables to the appropriate headers. Lastly, double-check all connections for proper seating.
Tip: Refer to your motherboard manual for precise header locations.
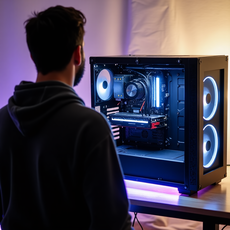
Build a Computer: Final Check and Power On
(10-15 Minutes)
Before powering on, spend 10-15 minutes doing a final check.
Start by verifying you have securely installed all components. Then, ensure all necessary cables are connected.
Next, check for any loose screws or metal objects inside the case.
After that, connect peripherals (monitor, keyboard, mouse).
Finally, power on and enter BIOS to confirm component detection. Enjoy this exciting moment as you see your new build come to life for the first time!
Installing the Operating System
(1-2 hours)
Installing your chosen operating system takes about 1-2 hours.
Begin by creating a bootable USB with your OS. Then, boot from the USB and follow the installation prompts.
Next, install the necessary drivers for your components. After that, perform initial system updates.
Post-build task: Don't forget to activate your OS if required.
In the Final Analysis
Building your computer is a rewarding experience that offers customization, potential cost savings, and a deep understanding of your system.
While the process can take anywhere from a few hours to a couple of weeks, the satisfaction of creating something with your hands is unparalleled.
As you build a computer, you assemble hardware and gain valuable knowledge about technology and problem-solving.
Take your time, enjoy the process, and don't hesitate to seek help if you encounter any challenges.
Frequently Asked Questions
(How to Build a Computer)
How long does it take to build a gaming PC?
Typically, the physical assembly of a gaming PC takes 3-6 hours, depending on your experience level and the complexity of your build. However, the entire process, including research, component selection, and software setup, can take 1-2 weeks. When you build a computer for gaming, you invest time in creating a high-performance machine tailored to your gaming needs.
Is it cheaper to build or buy a PC?
Generally, building a PC is cheaper than buying a pre-built system with similar specifications. You can choose cost-effective components by building your own and avoid paying for assembly labor. However, pre-built systems offer better value during certain market conditions, like GPU shortages.
What tools do I need to build a PC?
Essential tools for building a PC include:
- Phillips head screwdriver
- Anti-static wristband
- Thermal paste (if not pre-applied on CPU Cooler)
- Zip ties for cable management
- Flashlight for better visibility
Can I build a PC with no experience?
Yes, you can build a PC without prior experience. A wealth of digital learning materials, from visual walkthroughs to detailed instructional manuals, can guide you through each build stage. Proceed at your own pace, adhere to guidelines meticulously, and feel free to seek assistance from digital communities when challenges arise.
How are all my PC parts compatible?
To ensure compatibility:
- Use PCPartPicker, which automatically checks for compatibility issues.
- Check the Motherboard's specifications for supported CPU sockets, RAM types, and expansion slots.
- Verify that the power supply wattage meets your system's requirements.
- Ensure your case can accommodate your chosen components, significantly larger GPUs, or CPU coolers.


